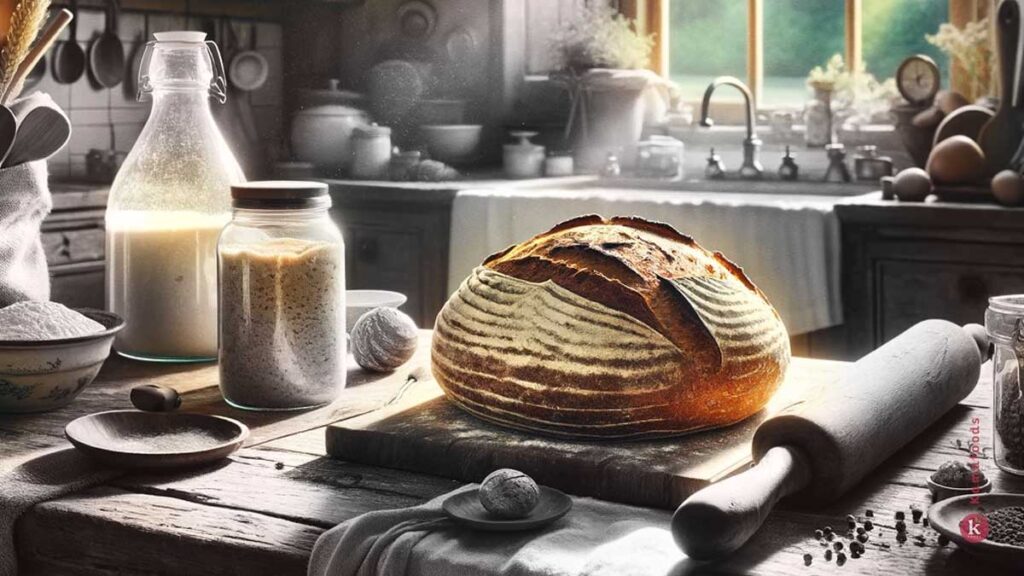
Sourdough bread has seen a renaissance in recent years, becoming a staple for both amateur bakers and bread enthusiasts alike. Its unique taste, texture, and health benefits have contributed to its resurgence. This guide aims to demystify the process of making sourdough bread, explore its health benefits, and provide practical tips for baking the perfect loaf.
Introduction to Sourdough Bread
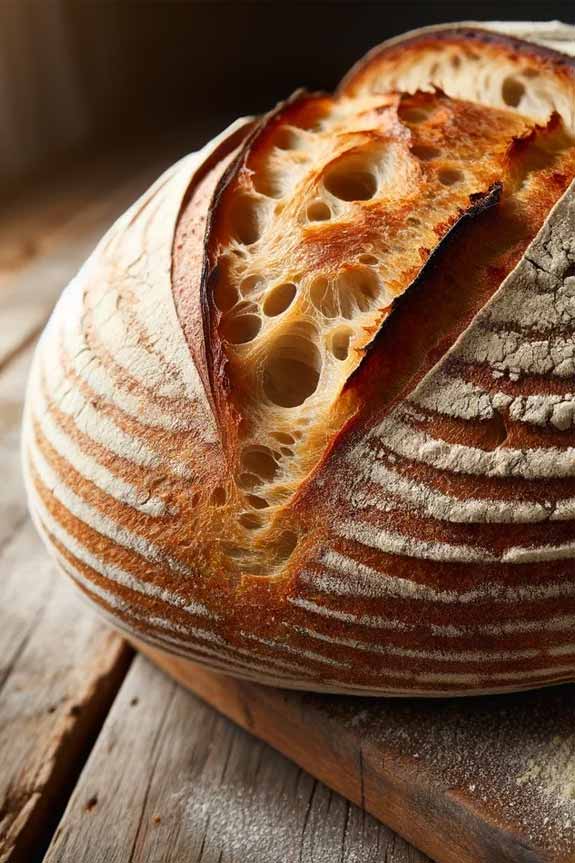
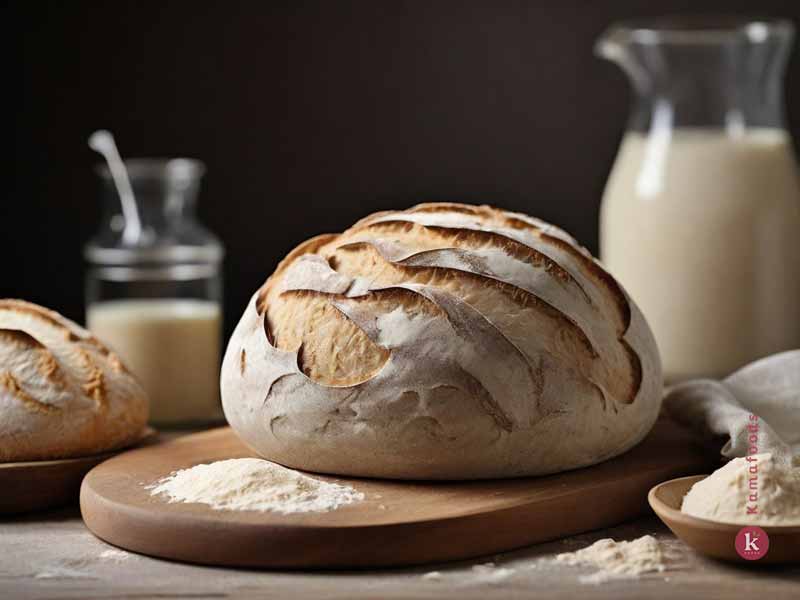
Sourdough bread’s appeal lies in its simplicity and the rich history it carries. Unlike commercial bread, sourdough utilizes a fermentation process that predates ancient Egypt. The key component, the sourdough starter, is a mix of flour and water that captures wild yeast from the environment, leading to a naturally leavened bread without the need for commercial yeast. This process not only imparts a distinctive tangy flavor but also improves the bread’s nutritional profile.
Making Sourdough Bread
The creation of sourdough bread can be a rewarding experience, though it requires patience and attention to detail. Here’s a simplified overview:
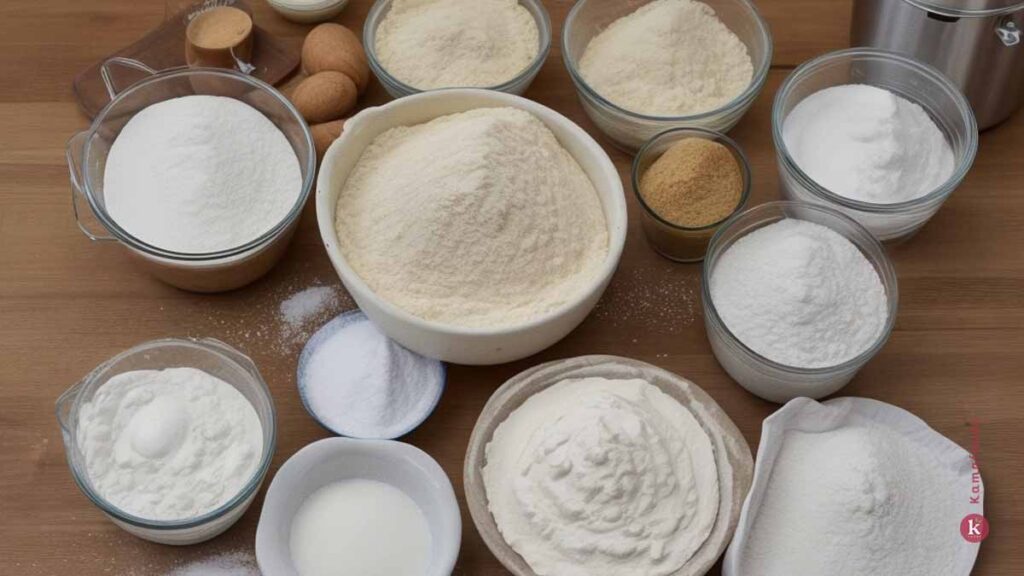
- Ingredients Needed: At its core, sourdough bread requires only flour, water, salt, and a sourdough starter.
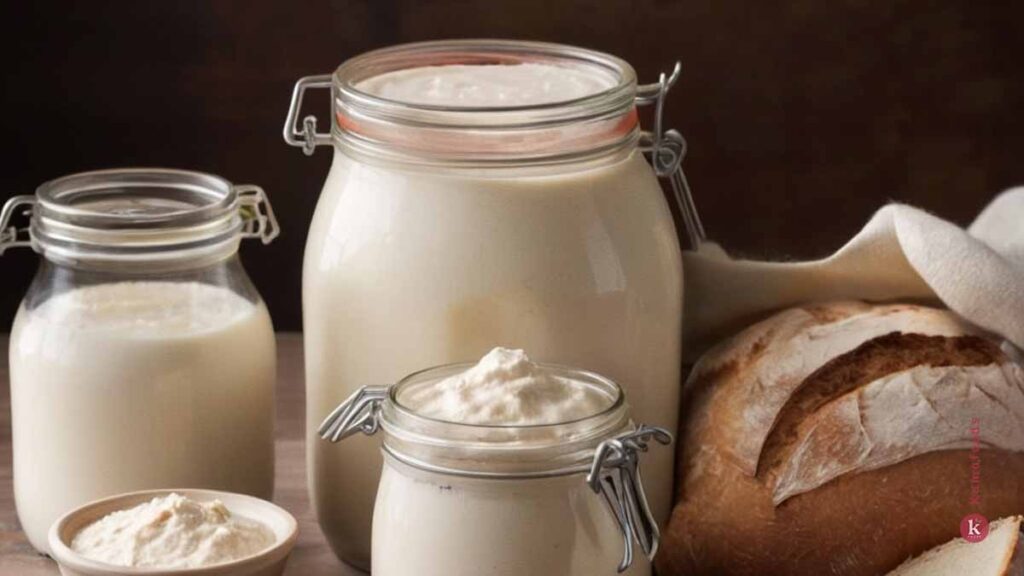
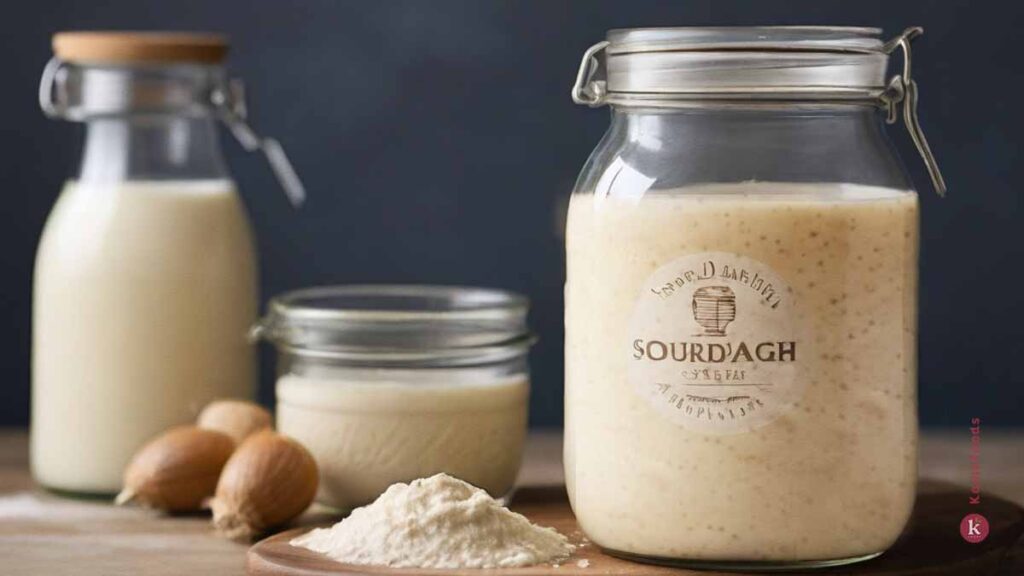
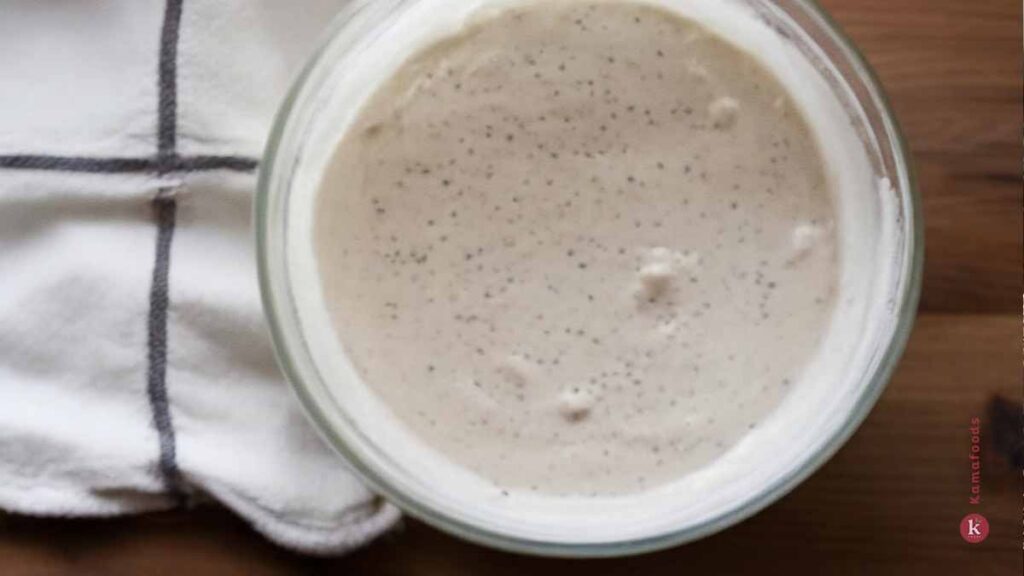
- The Sourdough Starter: The heart of sourdough baking, the starter is a living culture that requires regular feeding to maintain its health and leavening power.
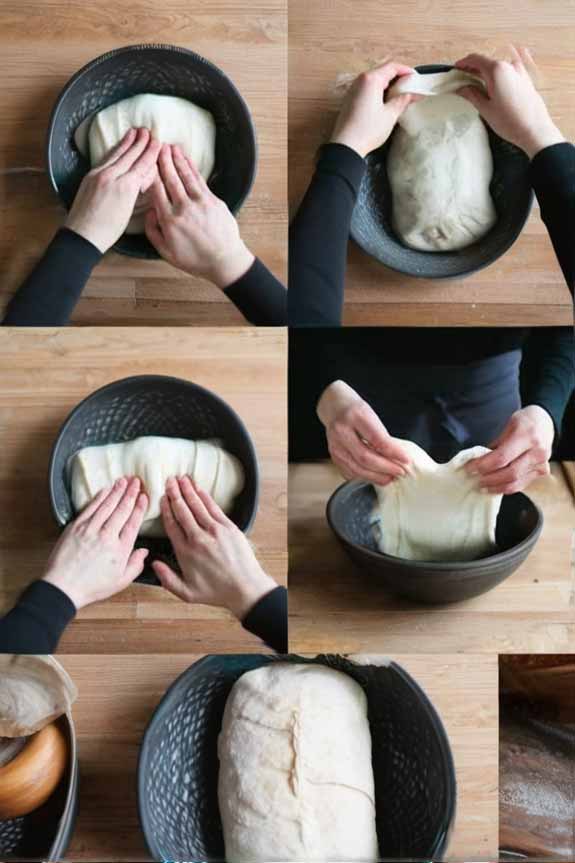
- Mixing the Dough: Combine your ingredients, starting with a hydration process known as autolyse to develop gluten before adding the starter and salt.
- Proofing and Shaping: After mixing, the dough must undergo a series of folds to strengthen gluten and then be shaped before its final rise.
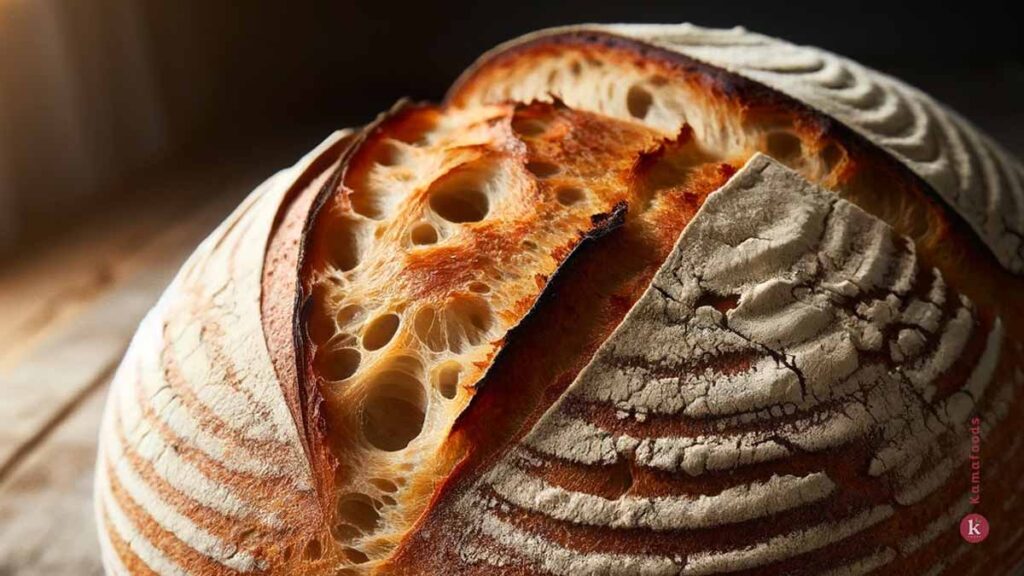
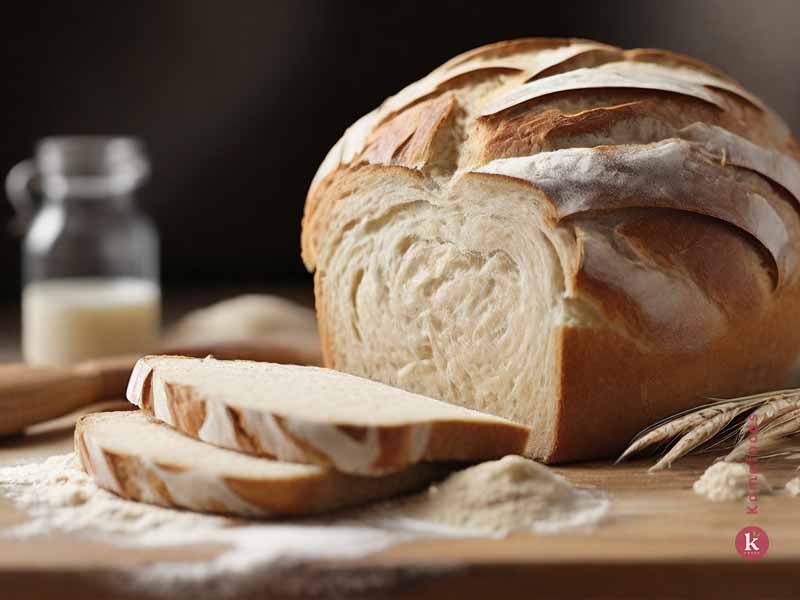
- Baking: A hot oven and often a dutch oven or baking stone help create the perfect crust and crumb.
Understanding Sourdough Fermentation can deepen your appreciation for the craft and improve your baking skills.
Health Benefits and Nutritional Information
Sourdough bread is not only delicious but also healthier than many commercial bread types. The fermentation process breaks down gluten, making it easier to digest, and increases the availability of various nutrients. Sourdough is also a good source of prebiotics and probiotics, supporting gut health.
For more on the health advantages of sourdough, consider reading Health Benefits of Sourdough Bread.
Variations and Recipes
Sourdough’s versatility allows for countless variations, from the choice of flour to incorporating additional ingredients like nuts, seeds, and dried fruits. Here are a few ideas to get you started:
- Classic Sourdough Loaf: The foundation of all sourdough baking, using just flour, water, salt, and starter.
- Variations: Experiment with different types of flour, such as whole wheat, rye, or spelt, to alter the flavor and texture.
- Creative Sourdough Recipes: Expand your sourdough repertoire by using your starter in pancakes, waffles, or even cakes.
Common Challenges and Solutions
Baking sourdough can be as challenging as it is rewarding. Here are a few common issues and their solutions:
- Dough too wet or sticky: Ensure proper flour hydration and adjust based on the flour’s absorption rate.
- Lack of oven spring: This could be due to over-proofing. Watch for the dough to rise just enough before baking.
- Dense crumb: Under-proofing or not enough gluten development. Ensure sufficient folding and resting time.
FAQs
- Is sourdough bread gluten-free? No, but the fermentation process can reduce gluten content, making it more digestible for some people.
- How long does a sourdough starter take to mature? Typically, a starter will be ready for baking in 5 to 7 days but continues to develop flavor over time.
- Can sourdough bread be made without a starter? No, the starter is essential for the fermentation process and flavor.
- What is the best flour for sourdough bread? While all-purpose flour works, bread flour or a mix including whole grains can enhance flavor and texture.
- How to store sourdough bread? Ideally, in a bread box or wrapped in a cloth to keep the crust crispy.
For further insights and tips from professionals, explore Professional Baking Tips for Sourdough.
Sourdough bread embodies the joy of baking, bringing together simplicity, tradition, and the satisfaction of creating something wonderful from basic ingredients. Whether you’re a seasoned baker or new to the world of sourdough, there’s always more to learn and explore in the quest for the perfect loaf.
Sourdough Bread
- Prep Time: 13 hours
- Cook Time: 1 hour
- Total Time: 14 hours
- Category: Sourdough Bread Recipes
- Method: Oven-Baked
- Cuisine: American
Description
Making sourdough bread involves a few key ingredients and a sourdough starter. The sourdough starter is a fermented mixture of flour and water that contains wild yeast and bacteria. It acts as a natural leavening agent, giving sourdough bread its characteristic tangy flavor and airy texture. Here are the basic ingredients you’ll need for making sourdough bread:
Ingredients
### Ingredients for Sourdough Bread
1. **Sourdough Starter**: This is the heart of sourdough bread. You’ll need an active, bubbly sourdough starter for your bread. If you don’t already have a starter, you can easily make one from scratch with just flour and water over the course of several days.
2. **Flour**: The type of flour you use can vary depending on the recipe and your personal preference. Common choices include all-purpose flour, bread flour, whole wheat flour, or a combination of these. Bread flour is often preferred for its higher protein content, which helps develop a strong gluten network for a well-risen loaf.
3. **Water**: The hydration level of your dough can greatly affect the texture of your sourdough bread. The amount of water you need may vary based on the type of flour you’re using and the desired consistency of your dough.
4. **Salt**: Salt is essential for flavoring the bread and for strengthening the gluten structure. It also helps control yeast fermentation.
### Optional Ingredients
– **Whole grains or seeds**: For added texture and flavor, you can incorporate whole grains like rye or spelt, or seeds such as sunflower, sesame, or flaxseed into your dough.
– **Sweeteners**: Some recipes might call for a small amount of sugar, honey, or another sweetener to balance the sourness of the bread.
– **Oils or fats**: While not commonly used in traditional sourdough recipes, some variations might include a small amount of oil or butter for a softer crumb and richer flavor.
Instructions
### Basic Steps for Making Sourdough Bread
1. **Levain Build**: A portion of the sourdough starter is mixed with flour and water to create a levain (or preferment) that will be used in the dough. This step is often done several hours before mixing the dough to ensure the levain is active and bubbly.
2. **Autolyse**: Mixing flour and water and letting it rest for a period allows the flour to fully hydrate and begins gluten development. This step is optional but can improve the texture of the bread.
3. **Mix**: Combine the levain, the autolyse mixture, salt, and any additional ingredients, then knead or fold the dough to develop gluten.
4. **Bulk Fermentation**: The dough is left to rise, typically at room temperature. During this stage, you’ll perform a series of stretches and folds to strengthen the gluten network.
5. **Shape**: Once the dough has doubled in size, it’s shaped into a loaf and placed into a proofing basket or a suitable container to hold its shape.
6. **Proof**: The shaped dough undergoes a final rise, which could be done at room temperature or in the refrigerator to develop more flavor.
7. **Bake**: The bread is baked, often in a preheated Dutch oven or on a baking stone, to achieve a crispy crust and a soft, airy interior.
Notes
Each step in the process of making sourdough bread can be adjusted based on your specific recipe, the temperature and humidity of your environment, and personal preferences in terms of texture and flavor.
Nutrition
- Serving Size: 1loaf
- Calories: 1820kcal
- Sugar: 1g
- Sodium: 4678mg
- Fat: 10g
- Saturated Fat: 1g
- Carbohydrates: 364g
- Fiber: 12g
- Protein: 59g
Keywords: Bread Sourdough Stretch and Fold
Sourdough Starter 101
Creating a sourdough starter from scratch is a simple yet fascinating process. It involves cultivating wild yeast and bacteria present in flour and the environment to create a natural leavening agent. This section will guide you through the basics of starting, maintaining, and using your sourdough starter.
Starting Your Sourdough Starter
To begin your sourdough journey, you’ll need just two ingredients: flour and water. Here’s how to get started:
- Day 1: Mix 100 grams of whole wheat or rye flour with 100 ml of lukewarm water in a clean jar or container. Stir until well combined, cover loosely, and let it sit at room temperature.
- Day 2-5: Feed your starter daily by discarding half of it and adding 100 grams of all-purpose flour and 100 ml of water each time. Stir well, and let it sit at room temperature.
By the end of the week, your starter should be bubbly and have a pleasant tangy smell, indicating it’s ready to use. If the process seems slow, don’t despair. Factors like room temperature and the type of flour can affect the development of your starter.
Maintaining Your Sourdough Starter
Once your starter is active, maintaining it is straightforward. If you bake often, keep it at room temperature, feeding it once a day. For less frequent baking, store your starter in the refrigerator and feed it once a week. Here’s how to maintain your starter:
- Room Temperature Maintenance: Discard half the starter and feed it with equal parts flour and water daily.
- Refrigerator Maintenance: Keep it in the fridge and feed it once a week. Let it sit at room temperature for a few hours after feeding before returning it to the fridge.
Using Your Sourdough Starter
When your starter is bubbly and passes the “float test” (a small spoonful floats in water), it’s ready to use in any sourdough recipe. Remember, always set aside a portion of your starter before baking to ensure you have a continuous supply.
Troubleshooting Your Starter
- Lack of Activity: If your starter isn’t showing much activity, try feeding it more frequently, adjusting the water temperature, or moving it to a warmer spot.
- Liquid on the Surface: A layer of liquid, often referred to as “hooch,” indicates that your starter is hungry. Simply stir it back in or pour it off before feeding your starter.
- Off Smells: While a tangy smell is normal, any unpleasant odors may indicate contamination. If your starter develops an off smell, it’s best to start over.
Creating and maintaining a sourdough starter is both an art and a science. It’s a living entity that requires care and attention, but the rewards of baking with your own starter are immense. Not only does it offer a sense of accomplishment, but it also allows you to bake bread with unparalleled flavor and texture. Welcome to the world of sourdough baking!
- Sourdough Discard Recipes

- Sourdough Starter
- Sourdough Bread
- Mounds Poke Cake Recipe
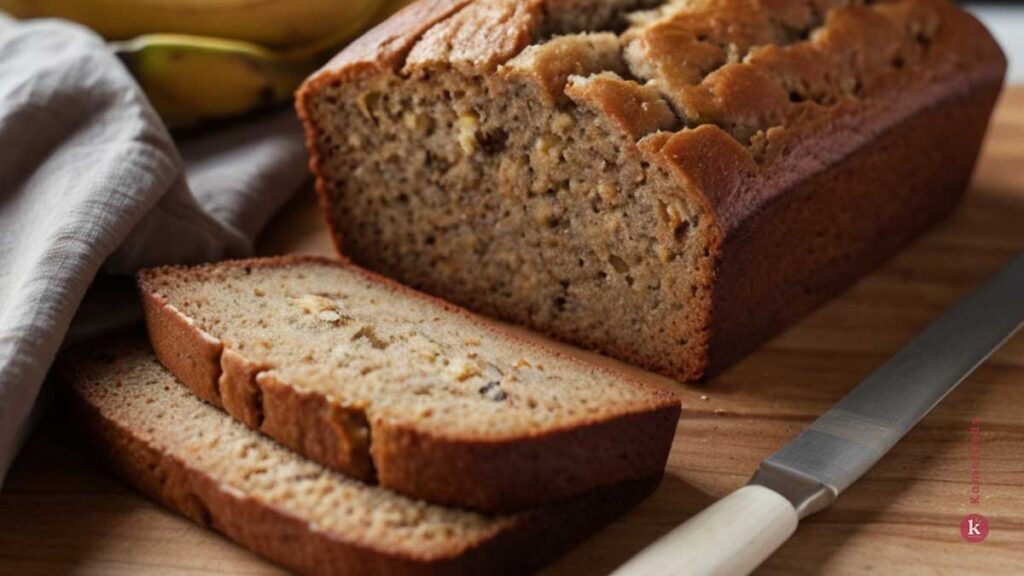
- Rich Banana Bread
- Lemon Strawberry Trifle: A Summer Dessert Classic
- Southern Smothered Chicken
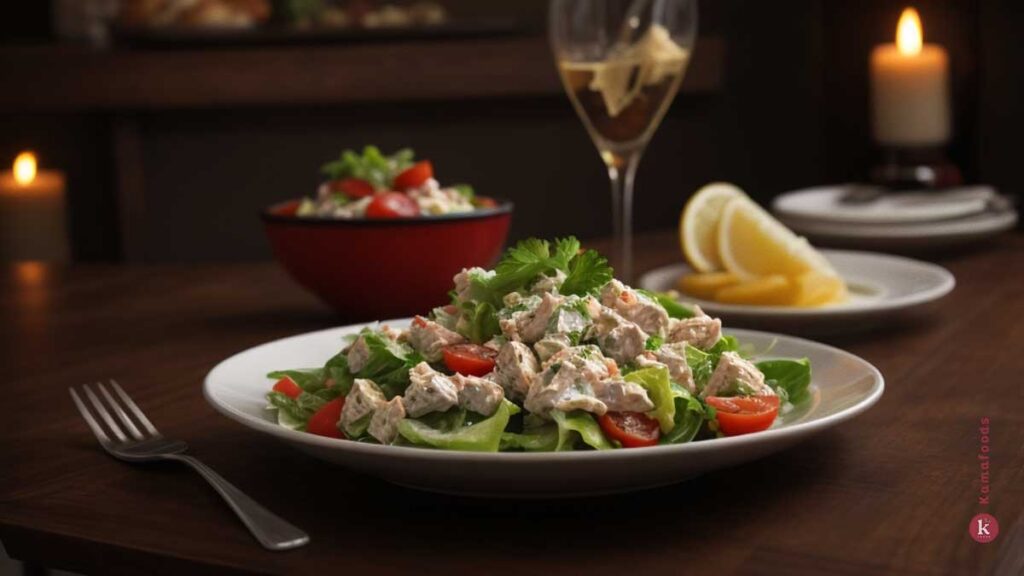
- Chicken Salad
- Tardive Salad
- Rose Shrimp Recipe
- Steak Diane
- Spaghetti Carbonara
- Valentine’s Day Recipes: A Love-Filled Menu
- ACL Recipes Peru
- Authentic ACL Recipes from Peru: A Culinary Journey
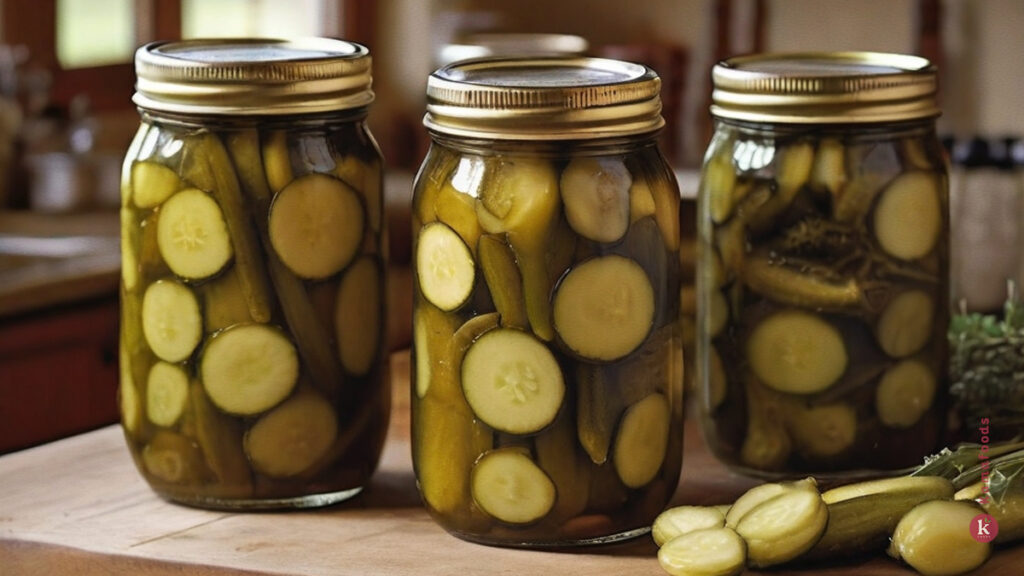
- Annie’s Recipes: The Secret to Sweet Amish Pickles
- Beef Liver and Onions Recipe
- Char Siu Chicken
- Beef Au Jus : A Culinary Delight

- Beef au jus recipe : A Culinary Delight
- Au Jus Recipe
- What Makes It a Fajita?
- 10 Student Recipes for Easy and Budget-Friendly Meals

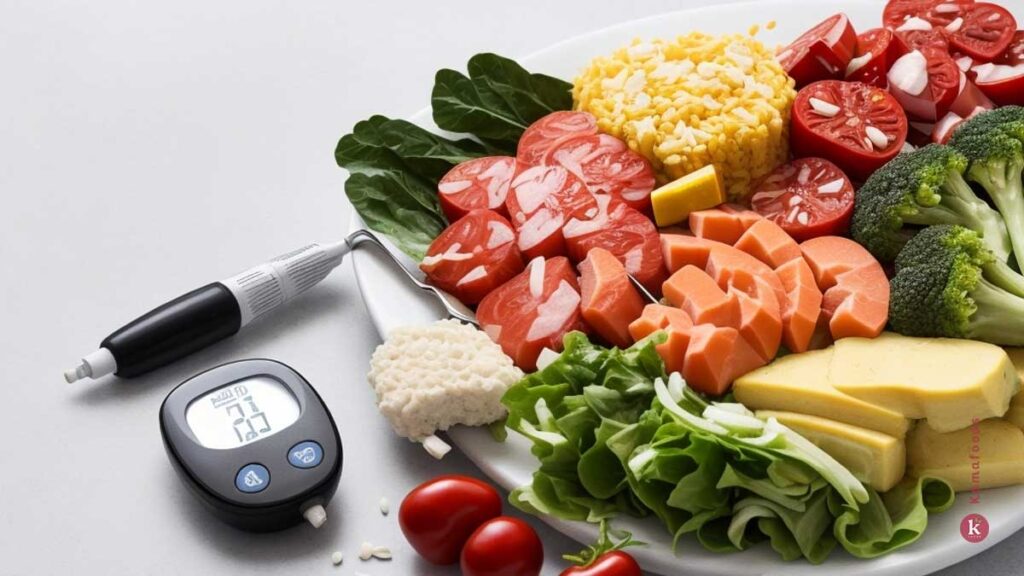
- What is a Good Meal for a Diabetic? A Comprehensive Guide
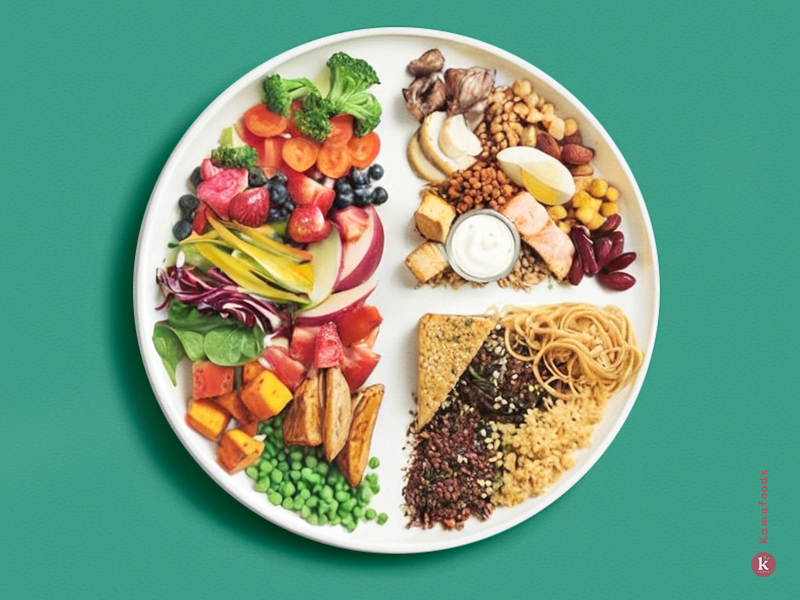
- Understanding Food Guide Basics
- Understanding Healthy Food Choices
- Peanut Butter Smoothie Bowl: A Nutritious Indulgence